

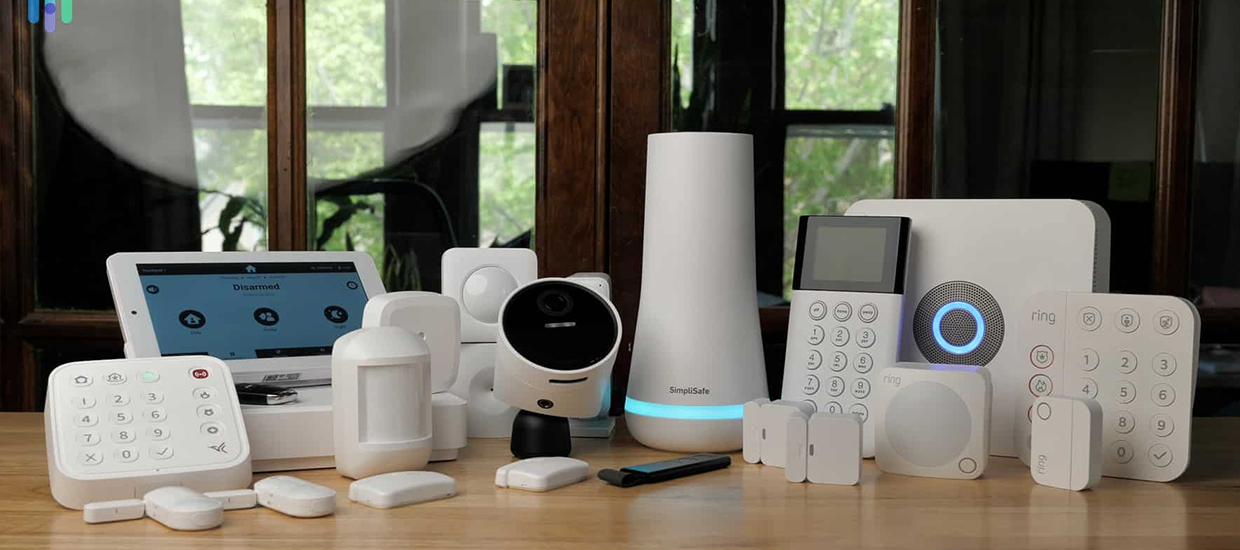
Hearing a loud thump downstairs at night. Suddenly, your heart races, but then your phone pings: Front door closed—no motion detected. You roll over and fall back asleep. Simple, right? Do it yourself home security systems make that calm moment possible. Consequently, these kits snap together like building blocks, letting anyone protect a home without drills or wires.
In fact, the DIY market doubled in five years, and experts say it will keep growing. Therefore, the gear’s wireless design lets you set up a system in under an hour and move it easily. So, this blog from Home Improvement breaks down the facts, prices, and smart tips you need—so you pick wisely, save money, and sleep better.
What Are Do it Yourself Home Security Systems?
DIY systems are bundles you install yourself. Therefore, you own the gear and choose the plan.
Main parts
- Hub: Brains of the system; links every sensor.
- Sensors: Small magnets or motion chips that also stick to doors, windows, and walls.
- Cameras: Watch inside and outside; many run on batteries.
- Siren or app alerts: Warn you and scare intruders.
How they work
- Peel off an adhesive strip.
- Then press the sensor in place.
- Pair it with the hub using a phone app.
- Test once; you’re done.
Pros
- Fast setup and no tools.
- Lower cost than pro installs.
- Easy to take when you move.
Cons
- You must place gear correctly.
- You handle repairs.
- Wi-Fi outages can cut service.
However, a retired SWAT leader warns, “Ignore false alarms too often, and one day that beep may be real.” Thus, his warning reminds us to install it carefully and test it often.
Why DIY? Facts That Matter
Clearly, numbers tell the story, and the story favors DIY.
- 60 % of burglars skip homes with visible alarms.
- 52 % of U.S. families already use at least one smart camera.
- Insurance firms may cut premiums up to 20 % when a system is active.
- The average DIY starter kit costs $250 to $350, while pro installs start near $600 plus labor.
“DIY security lets owners act fast and adapt gear to their lives.”
Furthermore, setup speed matters. On average, most brands we tested took 45 minutes or less from unboxing to arm mode. Therefore, this speed helps renters, college students, and busy parents alike. Plus, every major DIY brand now offers optional pro monitoring. In other words, you can start cheaply and add monthly backup when needed.
Best DIY Systems by Budget
Pick a kit that fits your wallet first, features second. The table also shows core options.
| Price Tier | System | Kit Cost | Notable Feature | Monitoring (per mo.) |
| Budget | Cove | $300* | Pre-paired sensors | $19.99 |
| Mid-range | SimpliSafe | $250–$379 | 24-hour battery backup | $21.99+ |
| Smart-home | abode Iota | $249 | Works with HomeKit | $16.67 |
| Premium | ADT Self Setup | $269+ | Google Nest cameras | $24.99+ |
| High-end | Deep Sentinel | $499 cam+hub | Live guard talk-down | $100+ |
Sale prices often drop lower.
Key takeaways
- Cove shines when every dollar counts, yet still calls fire or police.
- SimpliSafe balances price, speed, and strong backup power.
- Abode links with Zigbee lights and Apple gear, making smart scenes easy.
- ADT Self Setup blends trusted monitoring with Nest’s sharp video.
- Deep Sentinel costs more but puts humans on live watch.
Finally, choosing feels easier now. Next, we’ll explore installation tips, smart placement tricks, and how DIY stacks up against pro setups.
Deep Dive: How Top Kits Stack Up
Choosing a kit becomes easier once you see how each one acts. So, below is a clear snapshot of the six leaders, written for quick scanning.
| Kit | Quick Win | Stand-Out Feature | Good to Know |
| SimpliSafe | Armed in 30 min | 24-hr battery and cell backup | Mix sensors, cams, and hazard alarms |
| Cove | Ships pre-paired | Door sensors cost $5 on sale | App feels basic yet solid |
| abode Iota | Hub has a built-in cam | Talks to Zigbee, Z-Wave, HomeKit | Needs Ethernet for first setup |
| ADT Self Setup | Uses Nest cams | 12 pro centers watch alerts | Hub works on 2.4 GHz only |
| Frontpoint | Live chat until 11 p.m. | 30-day refund + 3-yr warranty | $$ plan is contract-based |
| Deep Sentinel | Live guard voice warns intruders | AI flags threats in 2 sec | $100+ per cam per month |
“DIY kits now match, and sometimes beat, pro systems on speed and smarts,” notes tech analyst.
However, even better, every brand above lets you switch plans anytime. That freedom is the heart of do it yourself home security systems. Start with self-monitoring. Later, if you travel often, turn on pro service with a tap. Each kit also logs every door open, motion event, and camera clip in the app. So you gain clear proof if a package vanishes or a window breaks. Because the logs sit in the cloud, you keep them even if the hub is stolen. Simple, strong, and in your control is also true DIY power.
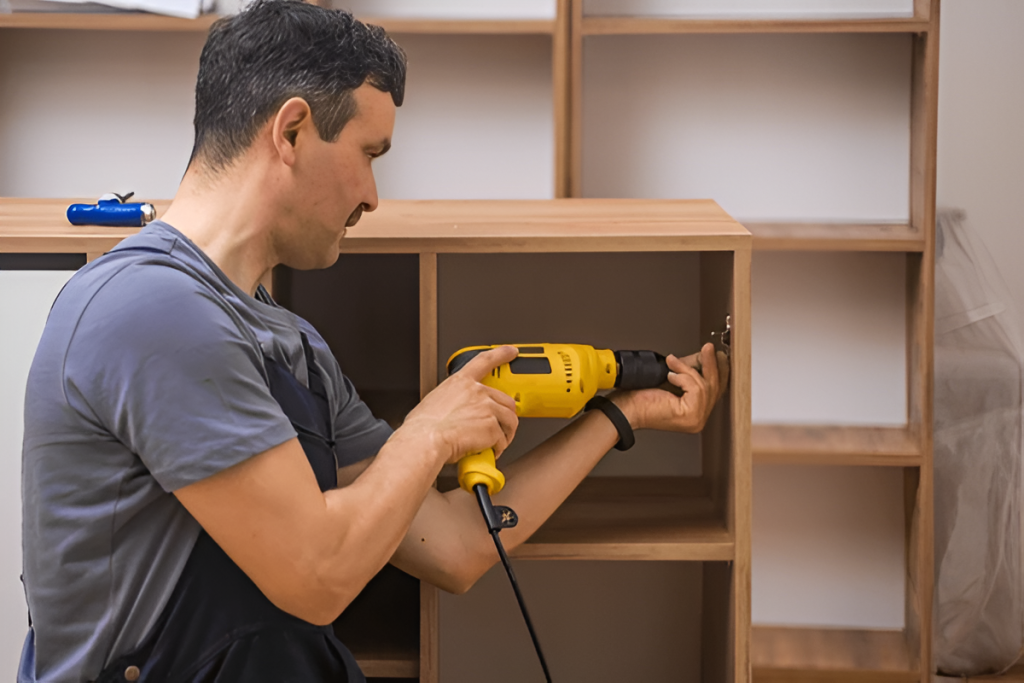
Installation in Action
You might still be wondering if I can handle this. Yes. Follow these five steps and you will finish before your next coffee cools.
- Unbox and sort parts. Keep sensors, batteries, and adhesives together.
- Plug in the hub. Most hubs link to Wi-Fi in under two minutes.
- Name each sensor in the app. Use “Back Door” or “Hall Window” so alerts make sense.
- Peel and press. Stick half of the magnet on the frame and half of the sensor on the door. They must be within a finger’s width so the magnet trips cleanly.
- Run a test mode. Walk past each motion sensor and open every door once. The app should ping instantly.
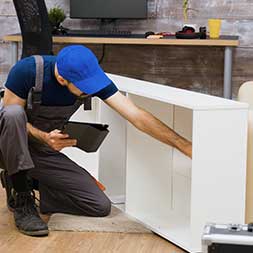
Moreover, to hang outdoor cams, you may need one small screw. Yet many indoor models recommended by Home Improvement sit on shelves. Motion sensors and keypads are even mounted with Velcro strips. If you rent, this matters; do it yourself home security systems leave almost no marks, so you keep your deposit.
Finally, invite family members to the app and give each person a PIN and fingerprint login. If Grandma visits and sets off the alarm, she can disarm it quickly, and you’ll still get a soft push note that she arrived.
Smart Placement and Best Practices
Correct placement turns good gear into great defense. So, use these field-tested tips:
- Height matters. Mount motion sensors at chest level, about four feet high, to spot both adults and kids.
- Avoid direct sun. Heat blooms can trigger false alerts; angle sensors away from bright windows.
- Layer detection. Place a contact sensor on every ground-floor door, then add one motion sensor covering main halls. Two lines of defense beat one.
- Name zones wisely. Short labels like “Den Cam” load faster in push alerts, saving time in a scare.
- Check Wi-Fi strength. A cheap range extender near the garage keeps outdoor cams online.
- Schedule test drills. Once a month, switch the app to “Test,” walk each room, and confirm every tone rings.
Moreover, security is not only about gadgets; it is a habit. Review alert logs every Sunday over coffee. Look for repeat false triggers. If the back window sensor fires ten times, tighten its adhesive or screw the plate in place.
“False alarms train owners to ignore real danger,” retired SWAT commander.
One quick fix today may stop one big loss tomorrow. Also, practice digital safety by using a long Wi-Fi password and enabling two-factor sign-in for your security app. Hackers love weak routers more than locked doors.
Balance privacy, too. Aim for interior cams in entryways, not sleeping areas. So, tell guests they are on camera; many states require notice. When you follow these steps, do it yourself home security systems stretch their muscles. You also gain solid, day-to-day protection and avoid costly call-outs. Even better, you hold the financial and digital keys to every alert, clip, and siren. Finally, that control is priceless.
DIY vs. Professional: Which Path Fits You?
Picking between do it yourself home security systems and a pro install feels tough, yet a quick side-by-side clears the fog.
| Factor | DIY Path | Pro Install |
| Cost | $250–$500 kit, no labor | $600+ gear, $100–$200 install |
| Plans | Month-to-month, cancel anytime | Long contracts common |
| Setup Time | Under 1 hour | 2-3 hour visit |
| Portability | Take it when you move | Often fixed in walls |
| Support | App chat and how-to videos | Tech visits, phone help |
| Control | Full—rename, add, remove gear | Changes may cost extra |
Pros of DIY
- Save money at the start and each month.
- Adjust sensors or cameras without waiting.
- Learn your system end to end, so fixes feel simple.
Pros of Professional
- Tech also handles drilling, wiring, and hard spots.
- Longer warranties and service calls.
- Hardwired power means zero battery swaps.
Still unsure? Think of time and travel. If you rent or move often, the freedom of do it yourself home security systems wins. However, a pro plan may suit you better if you want a hardwired siren. Either way, both routes now offer smart apps, battery backup, and cloud video, so safety gaps grow smaller each year.
Key Takeaways and Action Steps
You have reached the finish line, so what’s in it for you? So, here are the big lessons.
- Start small, grow later. A hub plus three sensors guards most one-bed flats. Add cams when budget allows.
- Test monthly. A one-minute drill keeps false alarms low and police fines away.
- Use layers. Pair door sensors with a motion sensor inside for double safety.
- Balance privacy and proof. Aim indoor cams at doors, not beds. Post a small camera sign outside; burglars hate notice.
- Keep costs clear. Write down kit price, extra sensors, and any pro plan. Check that list before you click “Buy.”
“The best security system is the one you install right now,” says safety writer. “Waiting for perfect gear leaves homes wide open.” So, choose your price tier and order a kit today. You can also peel, press, and protect every door within an hour of delivery. Home Improvement helps you spend less, learn more, and sleep easier—tonight and every night after.
