


Building your own DIY home security setup may sound hard, but it can be simple when you take it step by step. Many people feel nervous when they think about safety at home. You may wonder, “Will this work for my family? Will it protect my home?” These thoughts are normal. The good news is you can set up a strong system without pricey gear or expert help. You only need basic tools, a few budget-friendly items, and a plan.
This guide helps you learn the why, how, and what of setting up a smart home safety system. It keeps things clear and easy to follow, so you feel in control. As you read, you will find tips, facts, and steps that fit real life. The goal is simple: help you feel safe without stress.
Understand Why Home Security Matters
Before building your DIY home security setup, it’s essential to understand why it matters. When you know the “why,” every step feels worth it. Many break-ins happen when people leave small weak spots. That means small changes can yield significant results. When you learn about common risks, you also learn how simple actions can quickly reduce those risks. This knowledge helps you make choices that fit your home’s needs, rather than guessing.
Use this simple overview to stay focused:
| Home Security Need | Why It Helps | What It Prevents |
| Strong entry points | Stops fast break-ins | Forced entry |
| Good lighting | Makes you visible | Sneaking or hiding |
| Alerts & signals | Warns you fast | Missed threats |
| Safe habits | Keeps your home ready | Simple mistakes |
Studies show that many intruders avoid homes that appear well-prepared. Your setup does not need to look fancy. It only needs to show someone is ready and aware. When your home looks active, people think twice. You gain peace of mind, which is a significant benefit. As you learn more, you will see that even older homes can stay safe with the right approach.
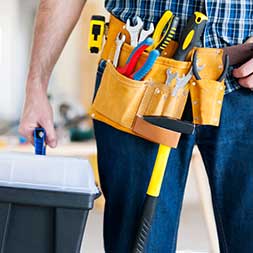
Gather Basic Tools and Supplies
You can build a strong DIY home security setup with simple supplies. You do not need complex hardware. You may already own many items. This step boosts confidence because you know you can start right now. When you see how little you need, it becomes clear you can move forward without stress or confusion.
Here are helpful tools:
- Screwdriver set
- Tape measure
- Drill
- Flashlight
- Weather tape
- Zip ties
Here are helpful supplies:
- Window locks
- Simple sensors
- Rechargeable lights
Use transition words as you gather items. For example, start with the tools first, then pick the spots you will fix. After that, check what you still need. This helps you avoid waste and move with purpose. As you sort everything out, place items in a small box or tool bag so you can reach them fast during tasks.
Inspect Entry Points Step by Step
Your doors and windows are the first places to check. When these spots stay strong, your whole home feels safer. These checks help you identify the areas you may have overlooked for years. Even minor improvements make a big difference over time.
“Most intruders choose the fastest path,” safety researchers often say. This is why your first job is to slow them down.
Follow these steps:
- Check door frames.
- Test your deadbolt.
- Check windows for loose locks.
- After that, replace weak hinges.
- Finally, seal gaps that give quick access.
Use simple upgrades to strengthen weak spots. You can add a door bar or a slip-resistant film on glass. These steps help you block fast entry and buy time if something happens. Over time, you will see these upgrades hold up well with little maintenance.
You create a safer home with quick, low-cost fixes. You also gain the confidence that comes from knowing you handled the most common targets first.
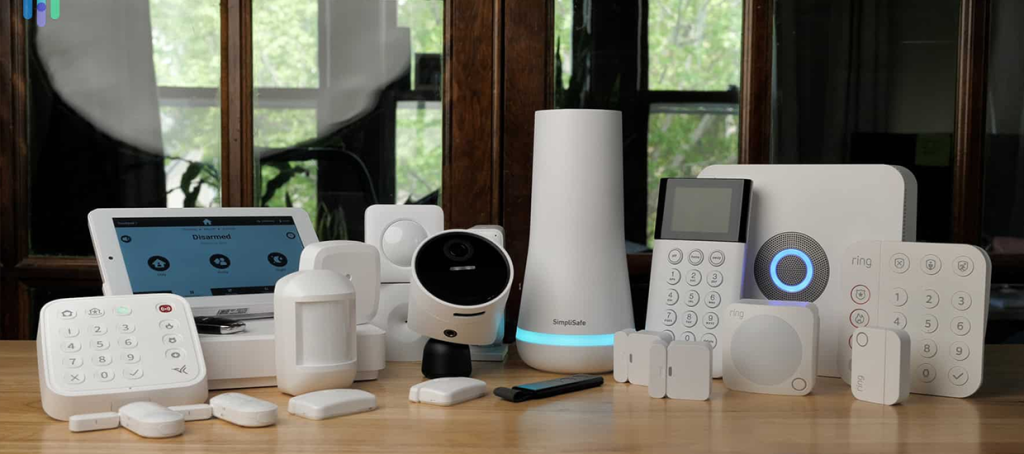
Install Cameras and Motion Sensors Wisely
There is no requirement for high-tech gear. Indeed, simple cameras and motion sensors function effectively. When you strategically position them, they become even more effective. Consider, if you will, the path someone might take as they endeavor to reach your home. This enables you to utilize fewer devices while achieving superior results.
Pick the Best Spots
Place cameras where people must pass. That includes the front door, back door, and any side path. If you only have one camera, choose the front door first. When you add cameras later, use them to cover areas your first camera cannot see.
Connect and Test
After you place each sensor, test it. Walk in front of it. Make sure it sends a signal or alert. If not, adjust the angle. As you test, think about weather, pets, and shadows because these can affect how sensors work outdoors.
Keep Them Powered
Use rechargeable batteries or low-cost solar lights to power sensors outside. When devices stay powered, your home stays protected. A small power schedule helps you avoid forgetting to check batteries.
You stay aware even when you are not home. You also feel supported because your system works around the clock.
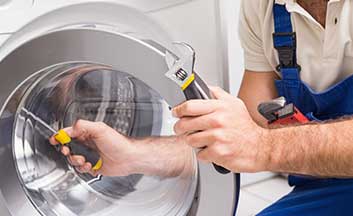
Keep Everything Updated and Working
A good setup needs simple checks. This ensures that sensors, lights, and locks function properly. These checks also help you learn how your system behaves in real-world conditions, such as storms or extended periods of darkness.
Use these steps:
- Test sensors monthly.
- Recharge batteries often.
- Replace broken locks right away.
- Review lighting patterns as seasons change.
Please make a small checklist and keep it near your tools. When you follow a simple plan, your DIY home security setup stays strong year-round. As you update your system, you will notice which tools last longer and which need more care.
You stay safe without assumption. You also avoid sudden surprises because you know each part works as expected.
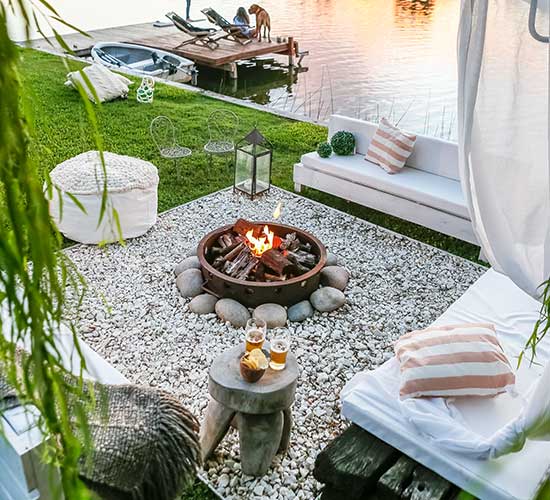
Use Lighting to Stop Trouble Early
Indeed, light serves as one of the simplest methods to safeguard a home. By using lights effectively, you can significantly enhance your home’s security, thereby making it less inviting to intruders. Good lighting, therefore, helps others in your home move safely at night as well. It effectively guides kids, visitors, and family members by providing clear paths.
Many safety experts assert, “Light takes away surprise.” A bright home, therefore, conveys the message that people will indeed be seen.
Add these smart lighting habits:
- Place lights near doors.
- Put lights along paths or driveways.
- Use solar lights in dark corners.
- Keep one indoor light on at night.
Motion lights help you save power while giving a fast alert. When a motion light turns on, it gives you a chance to react. It also scares away trouble before it starts. The right mix of steady lights and motion lights builds a strong safety layer.
You prevent most risks without extra work. You also help your home feel warm and active.
Build Smart Routines and Daily Habits
A safe home uses habits, not just devices. Even the best tools will not work if you forget to use them. Simple routines bring strong results. These habits keep everyone aware and make safety feel like a natural part of the day.
Try building habits like:
- Locking every door each night.
- Checking windows before bed.
- Turning on outdoor lights at dusk.
- Charging your sensors once a week.
You can also teach family members what to do in case of an emergency. When everyone is familiar with the routine, the system remains strong. Kids can follow simple steps, and adults can take turns doing checks.
You stay ready without stress. You also reduce the chance of simple mistakes that could lead to trouble.
Add Low-Cost Extra Layers for Better Protection
Here are a few more ideas that increase safety with little effort. These small layers work well when paired with sensors, lights, and habits. As you add them, your home becomes harder to target.
Use these low-cost layers:
- Window film for break resistance
- Door jammers
- Noise alarms
- Smart timers
Add one upgrade at a time. First, choose the most critical spot. Next, test it. Then, check if you need more. These layers work best when they match your home’s layout and routine. When you build in layers, you create a complete system. This makes your home safer from many angles. Over time, you may notice that these minor upgrades help you respond faster during unexpected events. You gain steady peace of mind without spending much.
Final Thoughts
Now you know how to create a strong DIY home security setup using basic tools, smart habits, and simple upgrades. When you follow these steps, you build a safer space that feels calm and ready. You gain control, protect your family, and avoid stress. If you want more guides and helpful tips, explore Every Home Improve for more information.
As you continue to improve your home’s safety, periodically review these steps to ensure everything remains in working order. Minor updates over time help you stay alert and ready for new challenges. With steady effort, your home becomes a place that supports comfort, awareness, and security for everyone who lives there.


